
Bedroom Refresh Part 1
Hey y'all! As many of you may know, Jeremy and I bought our first house about a year and a half ago. I shared with you when we painted the kitchen cabinets white, which really helped brighten up the space - and I've got some more plans for that room... but it's a little further down the honey do list. I'll be sure to share here on the blog, when we get to it. Right now we are busy getting ready for garden season. Well how much time could that take, you may ask... A LOT! My husband has always wanted to have a big garden, so we are currently prepping almost 1/4 acre of our property for year 2. We learned a lot our first year, and are expanding. Maybe Jeremy will have to do a guest post about his garden.
But enough about that - I wanted to share with you the updates we have been doing in our master bedroom! Back in the fall, we decided to switch our bedroom and home office.
We have a 1940s, 2 bedroom/2 bathroom house. The bedrooms are located on either side of the larger bathroom. Our original bedroom tends to stay fairly hot at night, and has a
limited layout due to the closet and door from the hall. For those reasons, we decided to switch rooms. With that decided, Jeremy said he wanted the new bedroom to be a "relaxing oasis."
I decided to treat this like I would any client - so I started with a concept board. Jeremy said he thought he might like some wallpaper, but wasn't sure of a look beyond that.
After showing him a few ideas on Pinterest, to help him pinpoint an aesthetic, I put together this quick concept board to help him envision what I was imagining.
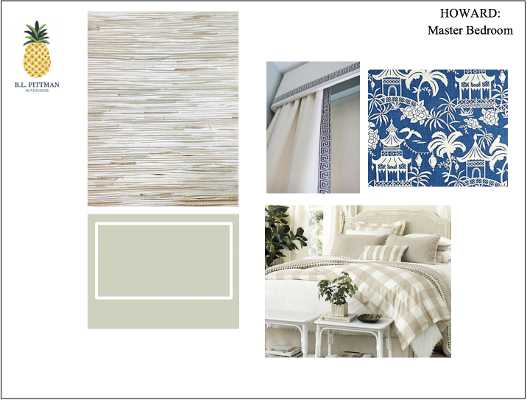
I knew that I didn't want to do a floor to ceiling wallpaper, and I also hated to lose the gorgeous soft green wall color (Behr - Chinese Jade) that we painted this room when we first bought the house.
With that in mind, and with Jeremy's excitement to try new DIY projects, we decided to do a picture frame wainscot and chair rail - which I illustrated on the design concept. I also knew
I wanted to do a patterned cornice with white drapery, and I had seen the blue pagoda fabric at my favorite retail fabric shop in Raleigh a few weeks before, so I was thrilled when
Jeremy also liked it! That just left the wallpaper... since this would be yet another DIY skill we were adding to our repertoire, a grasscloth seemed a great place for beginner wallpaper hangers
as well as fitting the mood for the room.
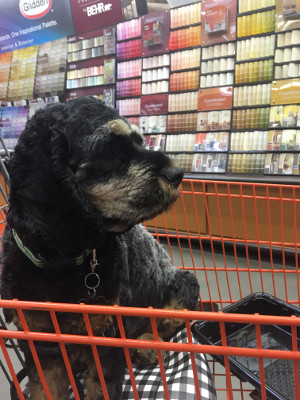
And with a design direction in mind, off to Lowes we went. Fear not! My loyal design paw-sistant tagged along, as there is nothing he loves more than going to a home improvement store!
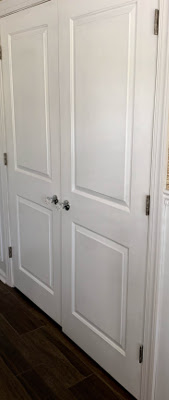
Before we started on the wainscot, we tackled the closet. Each bedroom had a typical reach in closet with bifold doors and a single bar to hang clothes. I had my closet, Jeremy had his... but we wanted
to be able to use the same closet in our bedroom, and use the office closet for extra storage - because does anyone ever have enough storage?! After measuring we were able to come up with a closet system that
had central shelving and two hanging bars each. Mine were longer, of course! We also ordered a classic two paneled double door and some beautiful crystal knobs.

The wainscot and wallpaper saga will be added in my next posts. But before I leave you today, I found a photo of the bedroom when we first toured the house. The previous owner had added the wood look tile, and painted the whole house the ever trendy grey. Which had some major purple undertones, and made the house feel like a cloudy day. So this is the original look of the room. I don't have one after we painted it.

« Previous Next »
 By Appointment Only


